
This is how my Grandmother made her own Elderberry syrup. It’s simple to follow and will get you the purest and tastiest blend I’ve come across. If you don’t have the time or patience to make your own Elderberry Syrup, you could always source it online.
Just want to get to the good stuff? You can skip to the Elderberry Syrup Recipe here.
Where does Elderberry Syrup come from?
There are plenty of options, however, make sure you look into the product reviews and details before buying.
If you can, you may choose to grow and dry your Elderberries at home. There are several options you can look into including:
- Sambucus Nigra
- Sambucus Nigra Mexicana
- Sambucus Nigra Canadensis
- Sambucus Nigra Cerulea
Relied upon for generations as a way to fight off colds and flu, Elderberry syrup is a great source of vitamin C, vitamin A, potassium, folate, calcium and iron. Depending on whether you’re looking at store-bought or home-made, the nutritional values will shift.
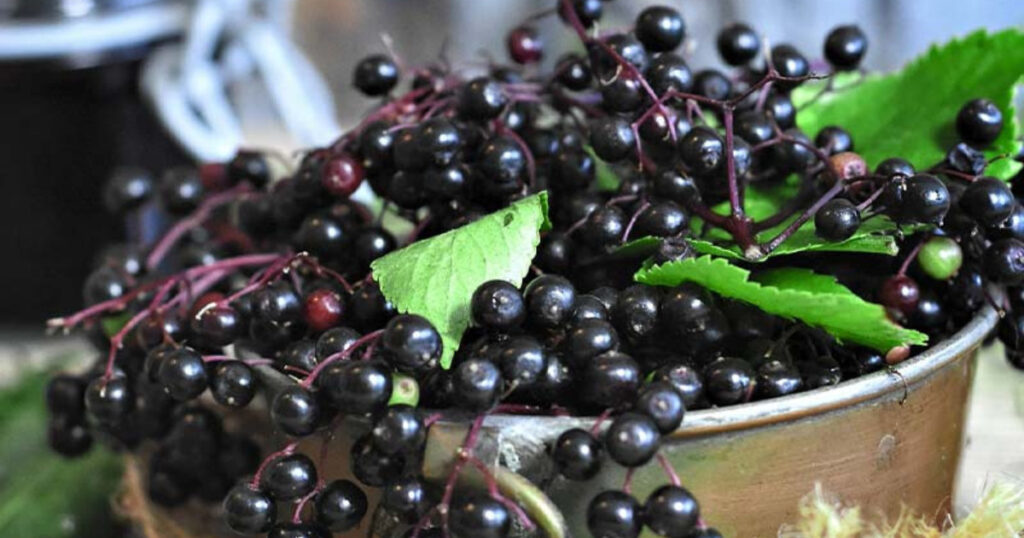
Making your own Elderberry Syrup
My Grandmother used a method that is known as ‘decoction’ (which is pronounced as de-cok-shon). This is where you take the whole ingredient, Elderberries in this case, and mash them up in a large pot before gently boiling.
The mashing helps to improve the breaking down and extraction process. A bit like chewing.
As a technique, decoction has been used for thousands of years with deep roots in Ayurvedic medicine, along with almost every form of ancient and tribal medicine. Essentially, it’s a foundational process that is even used in modern cooking. Think of it as ‘the wheel’ of the kitchen.
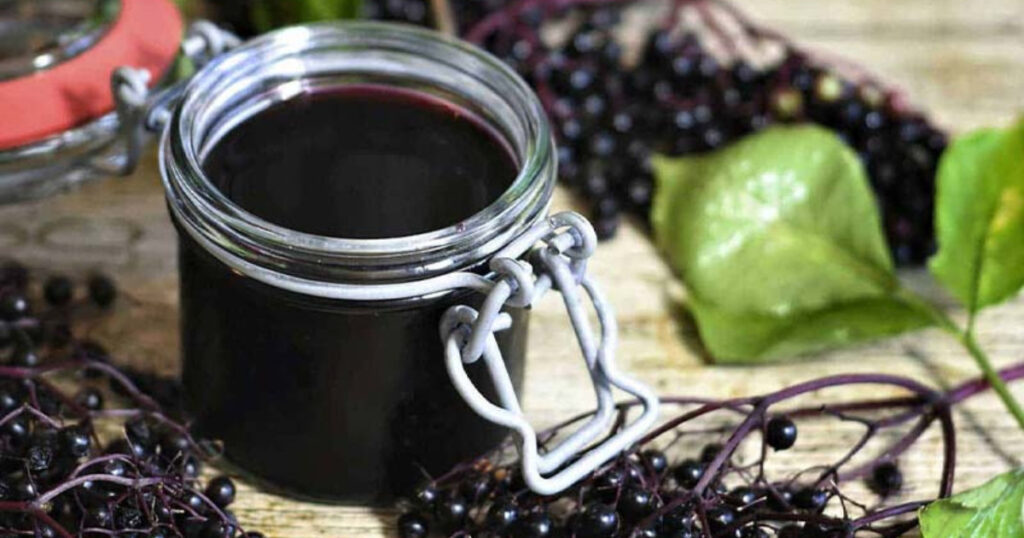
Elderberry Syrup Recipe
When it comes to sourcing dried Elderberries, if you can’t grow your own, try to find an organic option if you can. Anything you can get that is organic is going to be much better. That little more attention will make a big difference when it comes to quality.
Also, when it comes to the water, if you have access to alkaline water this is what I would choose to use. If not, you can replace this with distilled or filtered water. Try to avoid using water that has had fluoride, chlorine or other nasty chemicals added to it.
Servings
1L (approx. 4 cups)
Time frame
Preparation – 10 minutes
Cooking – 150 minutes
Ingredients
Elderberry Syrup
- 3 Cups of sundried Elderberries
- 2 Cups of raw honey
- 6 Cups of alkaline water
- 1/2 Cup of freshly squeezed lemon juice
- 1 1/2 Teaspoons of freshly ground ginger
- 1 1/2 cinnamon sticks (whole)
- 2 Star Anise (whole)
- 6 cardamom pods
- 4 black or red Peppercorns
- 6 Whole Allspice berries (dried)
Thickener
This is to be used as a thickening agent so you can get a syrup-like consistency
- 1 1/2 Tablespoon quick cooking tapioca flour
- 1/4 Cup of alkaline Water
You will also need
- Chopping board
- Sharp knife
- Large pot
- Wooden spoon or spatula
- Balloon whisk
- Potato masher
- Mason jars or resealable glass bottles (not cork tops)
- Cheesecloth
- Strainer or sieve
- Juicer
- Pestle and mortar
Method
Elderberry Syrup
- Add the dried Elderberries to the pot with the water, lemon juice, ginger, cinnamon, whole All Spice, and Star Anise. You can use a piece of cheesecloth and some string to make a bouquet garni for the spices if you prefer. This makes taking them out when you’re done a lot easier, and it still allows the flavour to move through the pot. 1
- Either in a pestle and mortar or using the flat part of the knife blade on your chopping board, crush the cardamom pods and peppercorns. Crushing these will help to release the flavour, which is different to the ground cardamom and pepper. You could use these if you prefer, but if you do, don’t add too much. Add these to the pot too.
- Bring to a boil and then allow to lightly simmer for 45 to 60 minutes until the colour of the liquid turns darker and the berries become softer.
- Take off the heat and strain the liquid to separate the berries and spices. Leave approximately 1/3 of the fluid in the pot with the berries and take out the remaining spices. This is where using the bouquet garni is helpful.
- Using your potato masher carefully mask the mix in the pot to crush the berries. This will help with releasing more of their magic and will get you a fuller taste in your Elderberry syrup.
- Return to low heat for 10 to 15 minutes and allow to gently simmer.
- Set aside and allow to steep and cool for 60 minutes.
- Strain the remainder of the liquid and add to the liquid from step 4. You may need to squeeze the fluid out of the mix towards the end. Use caution here as the fluid may still be a bit hot.
Thickener
Mix the water and the quick-cooking tapioca flour and set aside. This will be used last as a way to thicken your syrup should you want a thicker consistency.
When you are ready, add a little of the thickener mix to the Elderberry liquid mix. Gently heat while whisking until the mixture starts to thicken up.
You will need to progressively add more thickener mix until you get to the consistency you want. It is easy to accidentally over-thick this, so go slowly with the thickener mix.
If you add too much you will end up with a mix that is too thick and not as easy to use. If you want a thicker finish, you can continue to add more of the thickener and continue to whisk through on a gentle heat.
As soon as you notice the mix is starting to take on a less fluid movement while mixing, turn the heat off and continue to whisk for 3 to 5 minutes to help with a smoother finish.
Allow the mix to completely cool and add the honey. If you want to extend the shelf life you can add 1/3 to ½ a cup of vodka. Keep in mind that this will cause thinning of the mixture.
Returning this to the heat to add more thickener will burn off the alcohol and void the preservative effect of the vodka. This is not essential if you plan to consume the Elderberry syrup within 6 to 8 weeks.
Serving
For the best results, store the syrup in separate bottles or mason jars to reduce the exposure of the entire batch during use. This will help improve the shelf life of the fridge too.
Adding your Elderberry Syrup to your Sea Moss Gel is a great way to get a double dose of natural power into your day. It’s very versatile and works well in some recipes.
References
- “How to make a bouquet garni, step by step” – Taste.com.au Staff, 20 May 2008 [Taste.com.au] [Archive] ↩︎
Last Updated on 5 months by D&C Editorial Team


This sounds awesome, thanks for sharing.
I will be making this for sure (or attempting)…. Im not the best in the kitchen so I hope that I dont end up with an elderberry coloured ceiling! ha
LOL! Thanks for the giggle, Sam.
Either way, please let us know how you go. Elderberry ceiling or not I’m sure you’ll enjoy what you can get out of this amazing gift from nature. Just don’t ask me to help with removing the stains.
very interested to know more
Thank you, Tirafalo. What more would you like to know?